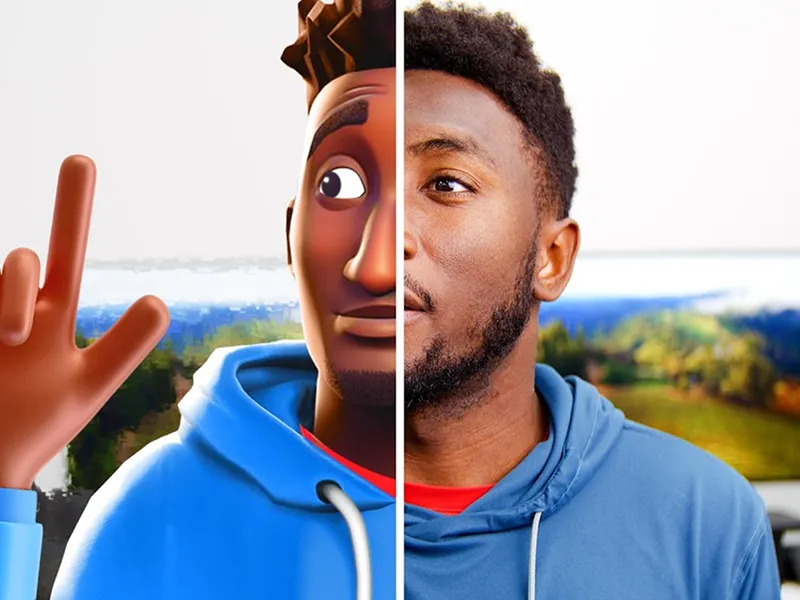
Do you want to upgrade your photo editing skills without breaking the bank? Whether you're a social media enthusiast, a content creator, or just someone who loves perfecting their images, Pixlr is the tool for you. This user-friendly yet powerful photo editor is packed with features—from quick fixes to advanced AI tools—that can make your pictures look flawless in minutes.
Pixlr's greatest appeal? You don’t need any fancy software, nor do you have to be a professional. With an intuitive workflow and diverse editing options, Pixlr is the perfect platform for all skill levels.
Before you jump into editing, you need to know how to access Pixlr and understand its different versions. Pixlr offers flexible tools, each tailored for specific needs.
Pixlr can be accessed through several platforms, ensuring flexibility for users on the go or those working from a desktop.
Understanding the difference between Pixlr E (Editor) and Pixlr X (Express) is crucial for leveraging the platform effectively.
Use Pixlr E for:
Use Pixlr X for:
Pro Tip: Beginners might find Pixlr X easier to use, but transitioning to Pixlr E can unlock powerful customization options.
When you open Pixlr, the variety of tools and panels may seem overwhelming. Here’s a quick overview to get you started:
Have your image loaded? Great! It’s time to start creating. Whether you’re a beginner or want to refresh your skills, here are some basic must-know techniques.
Pixlr makes basic edits incredibly simple.
Pixlr’s Filters section is ideal for creating a mood or transforming an image instantly.
Once you’re comfortable with the basics, it’s time to explore more advanced tools Pixlr offers. These features allow for greater precision and creativity.
Working with layers gives you full control of your design. Each layer represents a separate element, ensuring your edits remain independent.
Need to edit a specific part of an image? Use the selection tools to isolate and modify any section.
Pixlr simplifies complicated tasks like removing unwanted objects or correcting imperfections.
Pixlr’s AI-powered CutOut tool makes background removal fast and effortless.
Pixlr’s introduction of AI tools is what sets it apart, saving time and sparking creativity.
Visualize your ideas with text-based image creation. From “realistic landscapes” to “cartoon-style portraits,” simply type your description and watch AI bring it to life.
Pixlr’s Generative Fill automatically removes objects or fills gaps in your image. AI Expand, on the other hand, increases your canvas size while maintaining visual consistency.
Tired of blurry photos? AI Super Sharp enhances clarity and detail, reviving old or low-resolution images with a professional finish.
Pixlr isn’t just for editing photos; it’s a versatile tool perfect for various creative projects.
Design Instagram stories or Facebook banners using Pixlr’s templates, stickers, and effects.
Businesses can create eye-catching flyers, product photos, or website banners without needing a professional designer.
From photo collages to holiday cards, Pixlr allows users to easily craft stunning visuals for any occasion.
Yes! Both Pixlr E and Pixlr X are free. Pixlr also offers a premium plan for extra features and an ad-free experience.
Absolutely! Pixlr’s AI CutOut tool makes background removal quick and easy.
Yes, Pixlr offers advanced AI tools, including image generation, background adjustments, and photo sharpening.
Pixlr stands out in the crowded space of photo editors due to its ease of use, AI capabilities, and flexibility. Whether you’re a casual editor or a creative professional, Pixlr caters to all needs while remaining accessible and budget-friendly.
Start editing like a pro today! Access Pixlr for FREE and see how it transforms the way you create.